The Login Process
Most parts of the data is public, it can be read by everybody with Internet access. Only some sensible data as well as the complete data-input process is subject to restrictions. To gain permissions to restricted areas someone must login with an account, ie. an account with permission to record the centre's data (Centre Manager).
Accounts are linked to person's responsibilities. In many cases one person has one responsibility. But sometimes one person is responsible for many tasks. In such cases he holds many accounts, e.g.: as a centre manager, as a P-TVET, as a P-JSO. Each of the accounts may have different priviledges.
To start the login process you click to the rightmost link 'Login' at the menu line, which is shown at the top of all pages.

After a successful login, instead of the 'Login' link the account name is shown rightmost on the menu. It has a sub-menu for logout.

Top
Data Structure
The available data is grouped into 3 parts:
- A centre's basic data and its academic information
- Document portal
- Administrative data
1. A centre's basic data and its academic information
In the centres, different type of information concerning their status and activities arise: information, which (nearly) never changes, e.g.: the centre name; information, which changes in every academic period, e.g.: the number of registered students; and information, which changes from time to time, e.g.: given courses and their allied subjects. These data is stored in an internal database with a certain, hierarchical structure. The system denotes this hierarchy 'master/detail'. This structure has three levels:

At the first level the centre-specific data is collected. It contains the centre's contact information (address, persons, E-Mail, phone, ...), static data like year of establishment, land size, a short description of the centre's history, a logo, the website, ....
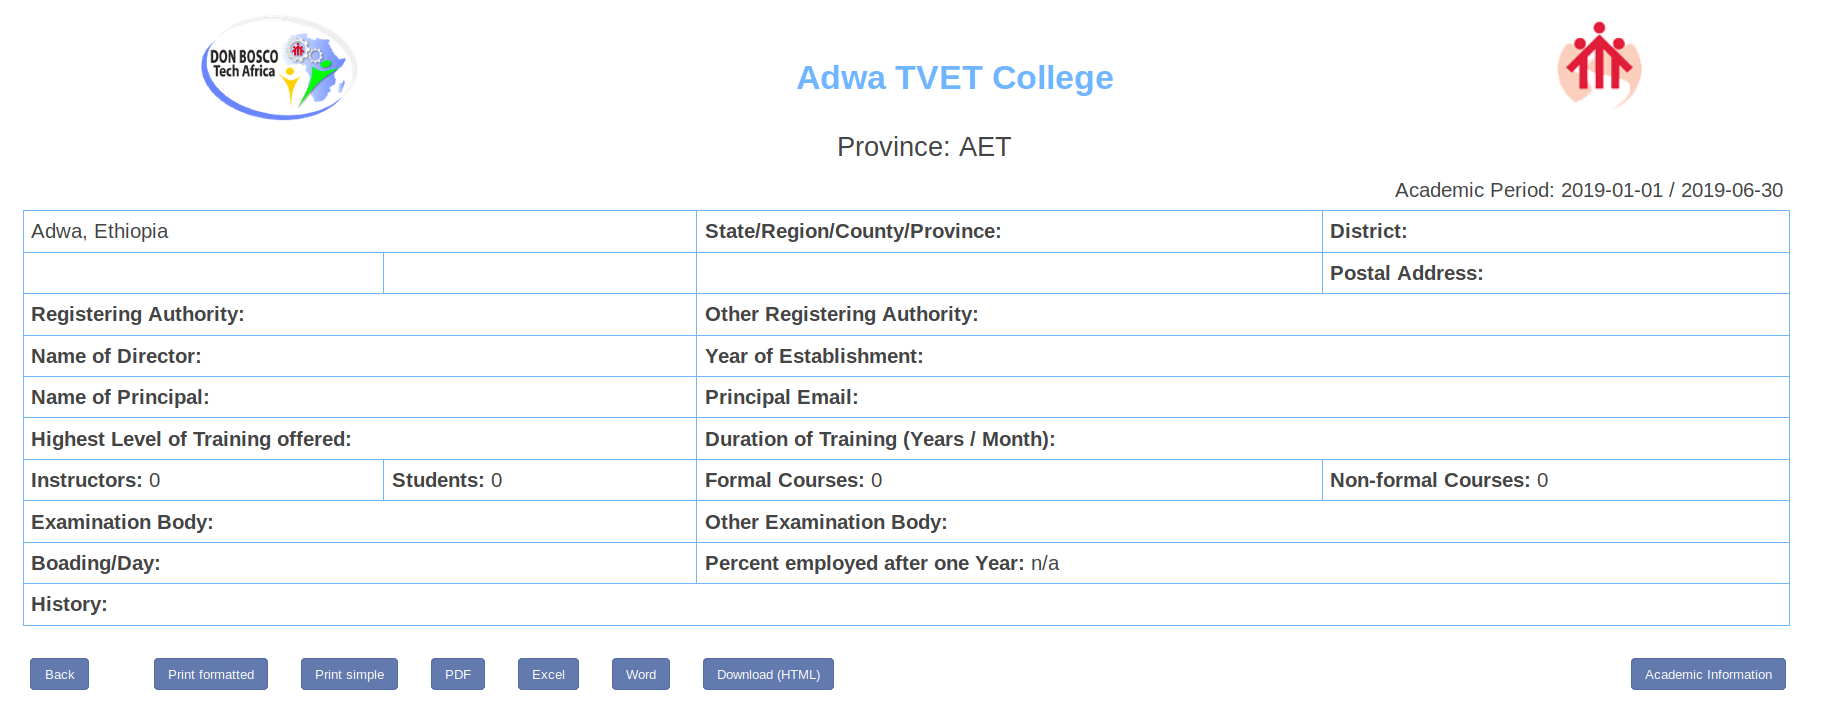
The second level (first sub-level) holds not only one but many records per centre. Every single record correlates with one academic period. If someone reports on 5 academic periods he must create 5 records of this type. Each single record holds the information about one academic period: start-time, end-time, the number of courses and students. This multiplication of records is neccessary because the values change from one period to the next. The start day of the collected periods are shown in tabs at the end of the screen, in this case '2019-01-01' and '2018-01-01'.

The third level (second sub-level) holds two different types of information: courses and allied subjects. For each academic period there are many courses and allied subjects. They may be identical to other academic periods - or they differ. This level is shown in the second half of the above image.
2. Documents
You can store documents of every type (presentations, reports, invitations, graphics, ...) on the system and share it with other users. To do so, send it to the DBTA office via E-Mail (dbta_team@dbtechafrica.org) and tell them, with which users you want to share this files (public, TVET, JSO, ...). The system administrators will do the upload. After that, everyone - even unregistered users - can search for them. But only those will find the document, who have the permission to see it.
3. Administrative data
The system contains internal data to manage users, permissions, zones, provinces, ... . This data is accessible only for system administrators.
Top
Navigation
Most navigation is done via the menu on top of the page. At the read-only pages there are some buttons for the pupose of reaching other pages or to trigger activities like an export into PDF or Excel format. Such graphical elements are well known and easy to understand.
Apart from that, the edit pages contain many additional elements, which must be explained.
Data is often represented in lines like that:

Each line of data contains many icons on the left side:
- '+': It will show data of the next sub-level. When you are at centres, it will show Academic Periods - when you are at Academic Period, it will show courses and subjects. Everything happens within this window.
- Triangle: Same as above - with the distinction, that everything happens within a new window.
- Iconized head: View the data in a new window, which shows the data in columns instead of a row.
- Pencil: Edit the data in a new window, which shows the data in columns instead of a row.
- Cross: Delete the data of this row.
- Two sheets of paper (Copy): Create an additional row with data, which is identical to this row, e.g.: to create a new academic period which is similar to the existing one.
- PDF: Export the row into PDF format.
- XLS: Export the row into a Excel worksheet.
- DOC: Export the row into a Word document.
- Printer: Print the row.
When you are in the Edit page, the Save button gives you many options after clicking the small triangel right to the button. The options are explained further down.

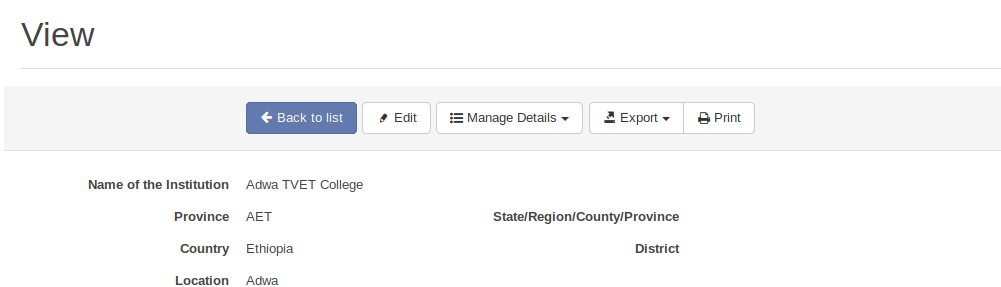
When you view the data, there is - among others - a "Manage Detail" button, which leads you directly to the next sub-level - similar to the small triangle on other windows.
Top
Collect (edit) Data
To edit the data of your centre, you login either with the account of this centre manager or with that of the province manager. After the login you can go directly to your center via the button 'My Centre (Edit)' at the bottom of the screen.

The screen offers all information items which are available for centres. After you entered all neccessary data, you can save it by clicking the 'Save' button.
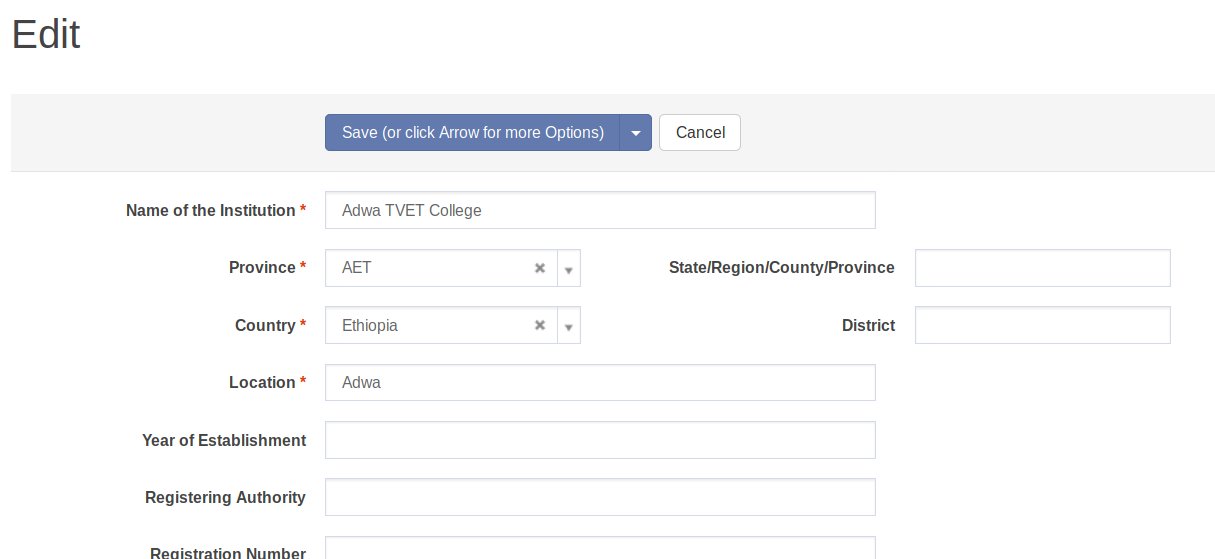
There are several options on the 'Save' button. To see them, click the small triangle on the right side.
- You can 'save' and jump to a list of all centres.
- You can 'save', keep on this centre and continue your editing.
- You can 'save' and edit another centre. (For this other centre you normally have no permission - so this doesn't make sense. But in the context of Academic Period, courses, and allied subjects it may be very helpfull.)
- You can 'save' and jump directly to the next level, which is Academic Period.
For two reasons the last option "Save and jump to next level" is the most important one. First, this supports the normal way of collecting data: after centre, you will work on Academic Period and after that on courses and allied subjects.
Second, navigation from one level to the next is a little tricky on our system. It can be done by this option or on some other - non obious - places. E.g. the "All Centres" screen shows centres as a list, one row per centre.
At the left side there is a '+' sign and a small triangle for each row. When clicking the '+' sign, it changes to a '-' and a list of the academic periods - one per line - is shown directly on the current screen.

When you click the pencil-symbol, a new screen appears and you can edit the data of that academic period in the same way as you have edited the data for the centre.

OK. Let's go back to the editing of centres.
Aside the '+' sign there is a small triangle. After clicking, it shows a popup 'Academic Period'.

This popup initiates the same process as the above explained '+' sign with the only exception that everything happens on a new sceen.

Top
Permissions
Read access to all data is given to everybody - even unregistered people. The only exceptions are: school owner, land owner, land size, phone of principal, phone and E-Mail of director, number of formal and self employed persons.
The permissions to modify data is given to certain user groups.
Centre managers can modify only data of their own centre. Data of other centres are read-only for them.
Province managers can modify data of all centres of their province.
System admins can modify all data.
Top